6. Functional Annotation Workflow [BICH464 Student Version]
6.1. Prerequisites
Once your structural annotation is completely done, you’re ready to move on to the functional annotation. Reviewing your gene calls now and getting them right will save you significant amounts of time later.
6.2. Workflow
To start, you will need to fetch your data from Apollo into Galaxy, by using the Retrieve Data tool in Galaxy. Simply select your Phage’s name in the Organism box.
Open the workflow PAP 2018 Functional (v8.15) in Galaxy. Follow this link, or select it from the Shared Data>Workflows menu at the top of the Galaxy window.
Select Import at the top right, as you did to import the structural annotation workflow.
Once you’ve imported it, you’ll want to start using this workflow.

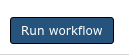
Again, click on the imported workflow and click Run workflow from the dropdown menu.
Select the correct datasets for launching the workflow:
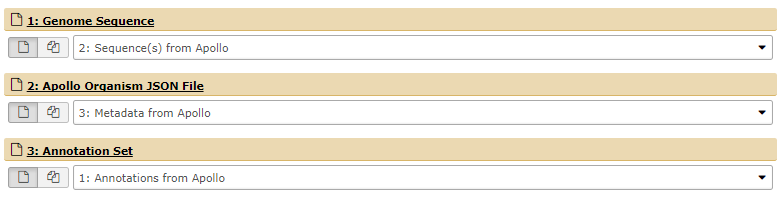
You should select the datasets from the first step of this document (i.e. the outputs of the “Retrieve Data” tool).
Execute
If everything went successfully, you’ll see a notice, you should follow the instructions

This workflow includes multiple computationally-intensive steps, including multiple runs of BLAST and InterProScan. With high server load, it may take up to several days for the workflow to complete. Check back on your workflow periodically in Galaxy. If you notice any of the queued jobs have failed (turn red), notify your herd leader. Some individual jobs, such as BLAST and InterProScan, may remain yellow (“running”) for many hours.
